Manual.ly Logo

Chicco Baby Hug 4 in 1 Bruksanvisning

0,0 · 0 Vurderinger

PDF-manual · 112 sider

Nynorsk

M: GO-GEM-FL-25
side

/ 112

Loading...
c2b283e0701ef547d8f033ee65ada21c6ffd page 10
16
17
CLEANING
Clean the plastic parts with a soft damp cloth. Never use
abrasive detergents or solvents. If the highchair comes
into contact with water, dry the metal parts to prevent
the formation of rust.
MAINTENANCE
• This product requires periodical maintenance.
• Cleaning and maintenance operations must only be
carried out by an adult.
• Periodically check the product for broken, damaged or
missing parts: do not use it in this case.
• To avoid friction that may compromise the correct
functioning of the product, ensure that all the moving
plastic parts located along the metal frame are free of
dust, dirt and sand.
• If necessary, lubricate the moving parts with dry sili-
cone lubricant.
• Store the product in a dry place.
COMPONENTS
The product is completely disassembled when pur-
chased; check that all of the components listed below
are present. If any part is missing contact ARTSANA’s
CUSTOMER SERVICES.
The product and all of its components must always be
assembled by an adult.
A - Height adjustable pedestal frame
A1 - 4 wheels with brakes
B - Seat frame
C - Seat structure
D - Tubular seat frame
E - Fabric (with shoulder straps)
F - Booster cushion
G - Toybar
G1 - Light / sound game buttons
G2 - 3 soft toys
I - Upper fabric zips
L - Plastic clips
M - Height adjustment pedal
N - Backrest recline lever
ASSEMBLY
The product is not assembled when purchased. To use
it, carry out the following assembly operations:
1. The rst thing to do is assemble the “A1” wheels on
height adjustable base frame “A”. To do this place the
frame on a rug or soft surface so as not to damage the
oor or frame. Assemble the 4 “A1” wheels inserting
the pins in the 4 holes under height adjustable base
frame “A” as shown in gure 1.
WARNING: Fully insert the wheel pin into the hole in
the base. At this point the base can be rested on the
oor.
2. Insert the fasteners of seat frame “B” into the respec-
tive tubes on seat structure “C” until they click into
place (Fig. 2).
3. Assemble the seat (seat frame “B” + seat structure
“C”) on the base: insert the two tubes on base “A”
into the corresponding holes on seat frame “B” until
they click into place (Fig. 3).
WARNING: The backrest must face the height adjust-
ment pedal (I) as shown in Fig. 3a.
4. Insert tube “D” into the corresponding holes on seat
frame “B” until they click into place (Fig. 4).
5. To assemble fabric “E” line up the holes on the fabric
with the restraint system installed on seat structure
“C”. Pass the two lateral arms of seat frame “B” through
the side fabric holes (FIG. 5), insert the pins of the
arms into the holes on either side of the backrest (FIG.
5a) until they click into place.
WARNING: Check that both arms are assembled cor-
rectly.
6. Attach fabric “E” using the two perimeter zips above
seat frame “B” (Fig. 6).
7. Pass the crotch strap and waist straps on seat struc-
ture “C” through the holes of fabric “E” (Fig. 7-7a-7b-
7c).
8. Attach the fabric (E) to the bottom of seat structure
“C”, making sure to insert all of the plastic clips in the
right slots (Fig. 8-8a).
BOOSTER CUSHION
9. Reducer cushion “F” is ideal from birth and can be
used or removed as necessary. To attach it to the
seat, place it on the fabric, pass the crotch strap and
waste straps through the holes in booster cushion “F”
(reclined cradle mode), (Fig. 9). In highchair mode it
is also necessary to pass the shoulder straps through
the holes of the booster cushion (Fig. 9a).
TOYBAR
10. The toys can be attached to the toybar by passing the
straps through the plastic openings on the bar (Fig.
10) and fastening the velcro.
11. Assemble the toybar (with the light positioned to-
wards backrest recline lever “N”) inserting the pins of
the bar into the holes on seat frame “B” until it clicks
into place (Fig. 11).
12. To incline the toybar in the three possible positions
press the side buttons (Fig. 12).
13. To remove the toybar press the buttons on the inside
of the bar support and pull upwards (Fig. 13).
WARNING: Always check that the toybar is properly
fastened before using it.
WARNING: To prevent possible injury by entaglement,
remove this toy when the child starts trying to get up
on its hands and knees in a crowling position.
HEIGHT ADJUSTMENT
14. Once assembled, the product can be adjusted to
various heights in all congurations. To adjust its
height, hold down height adjustment pedal “M” (Fig.
14) and lift or lower the seat to the desired height.
ADJUSTING THE BACKREST
15. The backrest can be adjusted to four dierent posi-
tions. To do this, push down on backrest recline lever
“N” (Fig. 15).
Position 1 – Crib mode (Fig. 15a)
Position 2-3 – Reclined cradle mode (Fig. 15b)
Position 4 – Highchair and rst chair at the table mode
(Fig. 15c)
These adjustments can also be made with your child
seated in the product. In this case it will be slightly more
dicult.
WARNING: Always check that the backrest is properly
locked before use.
USING THE SAFETY HARNESS
16. With fabric “E” assembled on seat structure “B”, there
will be a crotch strap, two waist straps and two
shoulder straps (Fig. 16).
17. CRIB MODE - WARNING: Completely remove all
safety harnesses making sure to keep them out of
the reach of your child (Fig. 17).
18. RECLINED CRADLE MODE - WARNING: A 3-point
restraint system must be used: crotch strap + waist
straps (Fig. 18).
19. After placing your child in the seat, reclined cradle
mode, fasten the straps by passing the two prongs
through the crotch strap buckle; adjust the waist
straps so that they t closely around your child’s
waist (Fig. 19).
20. HIGHCHAIR AND FIRST SEAT AT THE TABLE
MODE - WARNING: A 5-point restraint system
must be used: crotch strap + waist straps + shoulder
straps (Fig. 20).
WARNING: In this conguration the toybar must al-
ways be positioned behind the backrest.
21. After placing your child in the seat in highchair
mode, fasten the straps by passing the two prongs
through the shoulder strap buckle (Fig. 21) and then
through the crotch strap buckle (Fig. 21a); Adjust the
height of the shoulder straps so that they correctly
t your child’s shoulders.
Always make sure that the straps are fastened correctly.
To unfasten the strap, press and pull the side prongs.
WARNING: When using the product, always fasten the
straps by inserting them in the crotch strap and check
that they are tight enough and properly fastened.
22. The safety harness straps can be removed (for washing
or for use in the crib/reclined cradle conguration).
To remove the harnesses pull the waist and crotch straps
out from the holes in the fabric (Fig. 22-22a-22b) until
they are hidden on the seat frame and pull the shoulder
straps out from the fabric holes on the backrest (Fig. 22c
-22d). After removing the safety harnesses, make sure
that the harnesses are correctly re-assembled.
To re-assemble the safety harnesses, carefully follow the
steps below:
23. Follow point 7 of the ASSEMBLY paragraph to re-
assemble the waist straps and crotch strap. For the
shoulder straps, pass the strap through the hole as
shown in Fig. 23, making sure that the length adjust-
er is positioned as shown in the gure.
Take the plastic hole of the shoulder straps and pass it
through the fabric ring of the harness (Fig. 23a).
Having performed this operation correctly, pull the har-

Chat med din Chicco Baby Hug 4 in 1-manual ved hjelp av AI

Få umiddelbare AI-svar fra din Chicco Baby Hug 4 in 1-manual

Spør hva som helst om Chicco Baby Hug 4 in 1. Svarene kommer fra denne manualen, med de sidene de er basert på.

Baby Hug 4 in 1 Vedlikeholdsplan

Etter hver vask
Sjekk stoff og sømmer

Verifiser motstanden til stoffet og syningene etter hver vask for å sikre sikkerhet.

Vis i manualen (side 15)
Periodisk
Inspekter for skade

Sjekk produktet regelmessig for ødelagte, skadde eller manglende deler og bruk det ikke hvis funnet.

Vis i manualen (side 14)
Periodisk
Rens bevegelige plastdeler

Fjern støv, dirt og sand fra plastdeler som glir på metallrør for å forhindre friksjon.

Vis i manualen (side 16)
Etter behov
Smør bevegelige deler

Bruk tørt silikonspray på bevegelige deler hvis nødvendig for å sikre korrekt funksjon.

Vis i manualen (side 16)
M: QW-35-FL

Ask a Question

0/1000

Do you recommend Baby Hug 4 in 1?

Ja Nei

Frequently Asked Questions

A

Den kan brukes fra fødselen i sprinkelseng- og tilbakelent vugge-modus opptil 9 kg, deretter fra omtrent 6 måneder i barnestol- og første stol-modus opptil 36 måneder og 15 kg.

Er dette svaret nyttig?

A

Nei. Den tilbakelente vuggen er ikke beregnet for langvarig søvn. Hvis et barn trenger å sove lenger, bør man bruke en ordentlig sprinkelseng eller seng i stedet.

Er dette svaret nyttig?

A

Ja. Lekebøylen kan festes eller tas av etter behov. I barnestolmodus må den alltid være plassert bak ryggstøtten for sikkerhet.

Er dette svaret nyttig?

A

Stoffet bør vaskes for hånd i kaldt vann. Ikke bruk blekemiddel, tørketrommel, strykejern eller rens. Kontroller sømmene og stoffets tilstand etter vask.

Er dette svaret nyttig?

A

Ja. Alle fire hjul må være låst når produktet er i bruk for å bidra til stabilitet og redusere risikoen for bevegelse eller tipping.

Er dette svaret nyttig?

A

Kontroller at alle deler er riktig montert, at låsemekanismene er i inngrep, at selen er riktig festet, og at ingen komponenter er ødelagte, revet eller mangler.

Er dette svaret nyttig?

M: GO-GEM-FL-25

Advantages and Disadvantages

Advantages

  • 4-i-1-design vokser med barnet fra fødsel til 36 måneder.
  • Justerbar høyde og ryggstøtte med flere posisjoner støtter ulike daglige rutiner.
  • Avtakbar lekebøyle med lys og lyd gir underholdning tidlig i utviklingen.
  • Vaskbare, avtakbare tekstildeler og seletøy gjør rengjøring og vedlikehold enklere.
VS

Disadvantages

  • Modusbytter krever nøye montering av en voksen og regelmessige sikkerhetskontroller.
  • Produktet må alltid brukes med riktig sikringssystem.
  • Sprinkelseng- og tilbakelent vugge-modus er begrenset til en relativt kort aldersperiode.
  • Batterier til lekebøylen og bevegelige deler krever jevnlig vedlikehold og oppmerksomhet.
M: GO-GEM-FL-25

Produkt Spesifikasjoner

Vekt

10,20 kg

Mål (BxHxD)

850x880-1220x600 mm

Egenskaper

høydejusterbar, kan gjøres om til barnestol, melodifunksjon

M: GO-GEM-FL-25

Produkt Beskrivelse

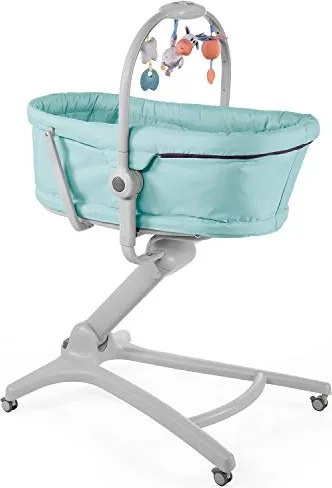
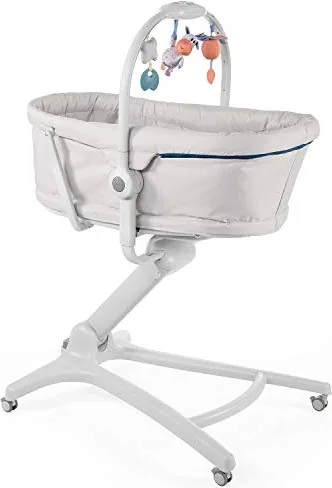
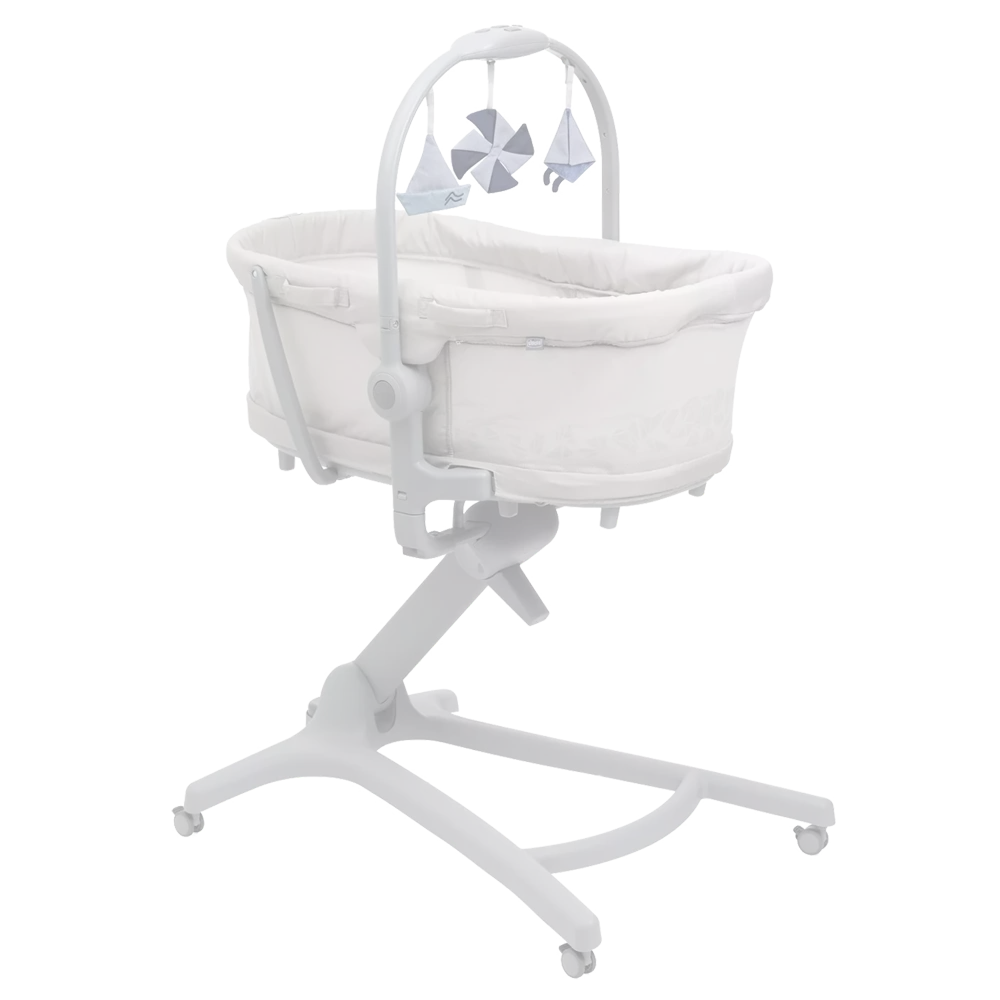
Chicco Baby Hug 4 i 1 vugge: Én smart stol for de første tre årene

Chicco Baby Hug 4 i 1 vugge skiller seg ut som en allsidig følgesvenn på barnerommet som følger barnet gjennom flere tidlige stadier med overraskende letthet. Fra de første dagene hjemme til småbarnsårene kan den fungere som en sprinkelseng, en tilbakelent vugge, en barnestol og en første stol ved bordet. Denne fleksibiliteten gjør den attraktiv for foreldre som ønsker kompakte løsninger uten å gå på kompromiss med komfort eller praktisk bruk.

I sprinkelsengmodus tilbyr den et trygt og lunt hvilested for nyfødte opptil 9 kg, mens den tilbakelente vuggeinnstillingen gir familien et komfortabelt sted for overvåket hvile i de første månedene. Senere, når barnet kan sitte selv, går produktet over til å fungere som barnestol og første stol, egnet for måltider og familiens hverdagsstunder opptil 36 måneder og 15 kg. Resultatet er ett enkelt babyprodukt som tilpasser seg skiftende rutiner i stedet for å bli stående ubrukt etter noen få måneder.

Designet fokuserer også på brukervennlighet. Et justerbart høydesystem hjelper setet med å passe til ulike møbler, og ryggstøtten kan lenes tilbake i flere posisjoner for å matche bruken. En avtakbar lekebøyle med lys, lyd og myke leker tilfører et engasjerende element, spesielt i de tidlige stadiene. For mange foreldre blir Chicco Baby Hug 4 i 1 vugge manualen nyttig her, siden den forklarer hvordan man trygt bytter mellom moduser og får mest mulig ut av hver konfigurasjon.

En annen styrke er enkel daglig vedlikehold. Avtakbare tekstildeler, sikkerhetsseler og lett rengjørbare flater gjør den mer håndterbar for travle hjem. Produktet er også bygget med sterkt fokus på stabilitet og tilsyn, og minner omsorgspersoner om å låse hjulene, kontrollere låsepunktene og bruke riktig sikringssystem for hver modus. Disse detaljene er viktige fordi et multifunksjonsprodukt bør føles like trygt som det er praktisk.

Merknader

  • Best egnet for foreldre som ønsker en langvarig og plassbesparende løsning.
  • Følg alltid monteringsstegene nøye før hvert modusbytte.
  • Regelmessig inspeksjon og riktig rengjøring bidrar til å bevare ytelse og utseende.
  • Lekebøylen er morsom for yngre babyer, men bør tas av når barnet blir mer bevegelig.
M: GO-GEM-FL-25

© Copyright 2026 Manual.ly